Basic Robot Control
With the Peerbots controller, the primary focus is on controlling a robot’s verbal expressions. The Peerbots controller also includes emotive expression, and colors to make the verbal expressions more expressive.
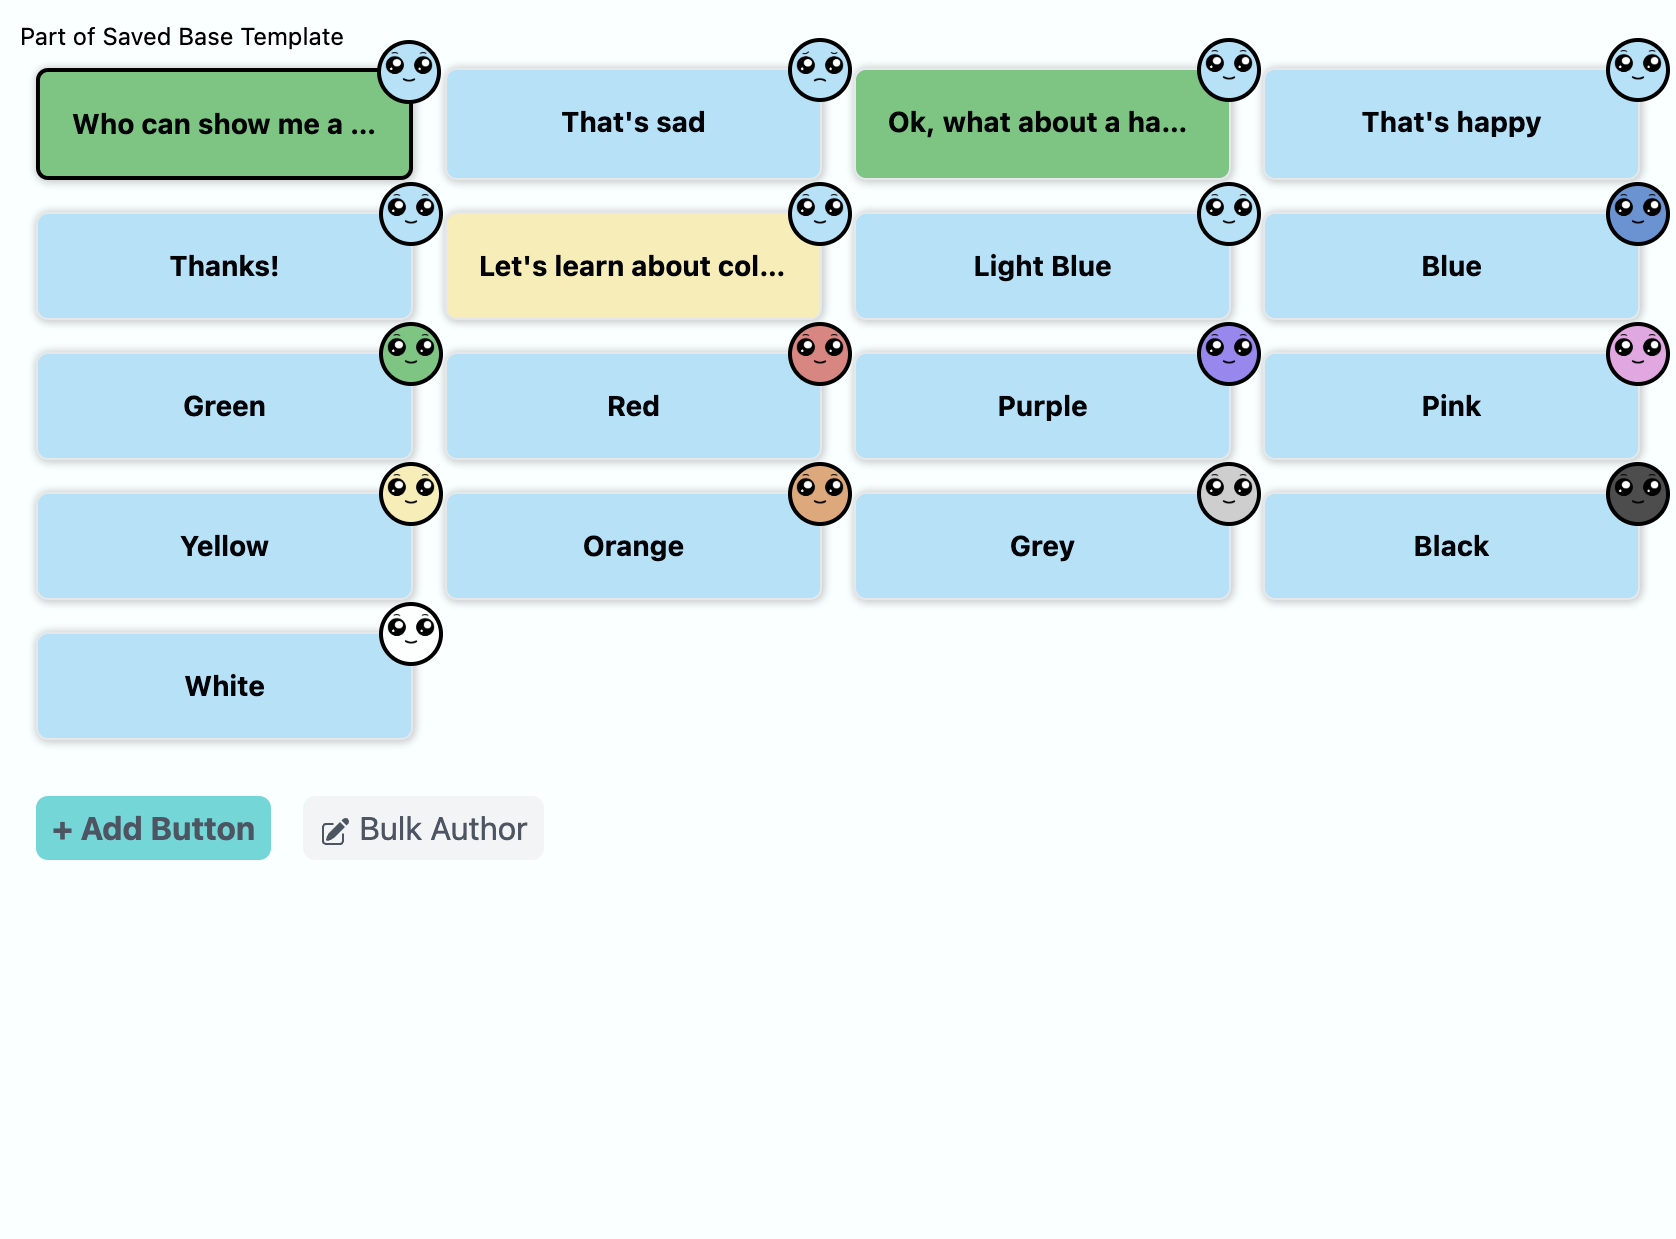
In the simplest view of the Peerbots Controller, you’ll see many buttons. Each button will initiate something as part of the controller. The buttons view will look something like this:

Button Types
There are currently two types of buttons:
- Message buttons - Send a message to all connected robots
- Log buttons - Track an event
Message Buttons
A message button will send the following for a robot to express:
- Speech to say
- An emotion to express
- A color to show
Note that different robots may handle these differently. For example, each robot has its own ways of expressing each emotion or its own voices to speak as. Different robots might support or not support certain languages.

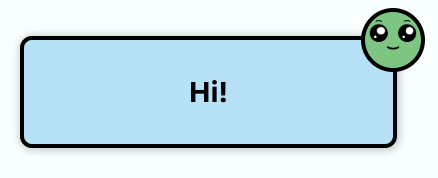
The image above shows an example of a Message Button.
- Note the icon in the top right showing the face’s emotion and color to express.
- The words on the button itself may or may not be what is expressed. The button has a title that is often the same as the speech to express but can sometimes be defined differently.
- The button color itself can be used for labeling or tagging the button a particular way and is usually defined by the button Author.
Log Buttons
A log button won’t send anything to the connected robots. Instead, it will track information. Log buttons are really useful for tracking things that you want to note while controlling the robot in the hopes of reflecting on them in the future.

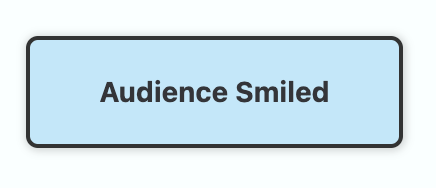
The image above shows an example of a Log button.
- Note the button does not include a robot face icon in the top right. That tells you it won’t send anything to a robot.
- The button title is part of the information that will be tracked but additional details embedded in the button will be tracked as well.
- The button color itself can be used for labeling or tagging the button a particular way and is usually defined by the button Author.
True or False?
Button Details
As we mentioned, the buttons can include a bit more information than what you see immediately. For example, a message button can result in expressed speech that is different from the title shown on the button. So how do we find out the information that will be expressed? We can select the button and check the button details and editor on the right side of the screen!

When you select a button, its information will be visible on the right side of the screen in the button details. You can also edit the button’s information there.
But you might be thinking, “If I have to click on a button to find out what’s in it, isn’t that too late because it would have sent it to the robot already?!!” We’ll discuss that in the next module.